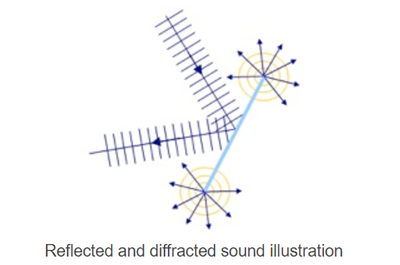
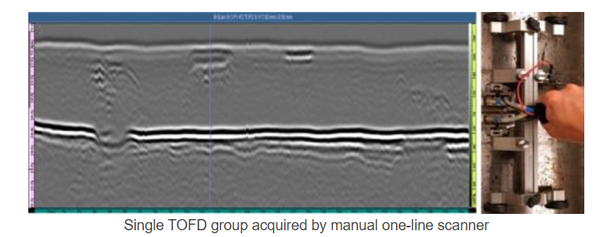
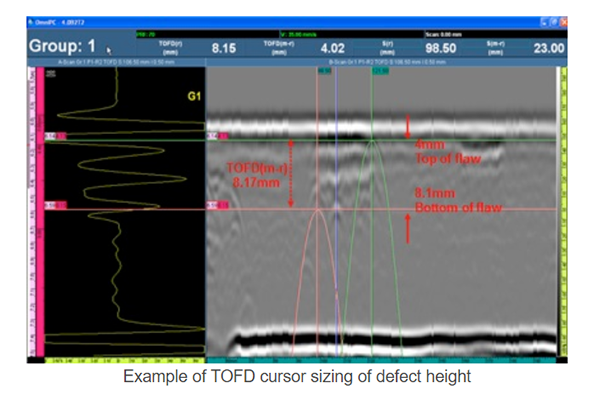
超声衍射时间差法(TOFD)是一种无损检测方法。它采用一对频率、尺寸、角度相同的纵波探头进行探伤;一个作为发射探头,另一个作为接收探头,两探头相对位置在焊缝两侧且探头中心在同一直线上,发射探头发射横向纵波,在无缺陷部位接收探头首先按收到直通波,这种波在两个探头间以纵波速度进行传播,然后接收到反射回波(back wave)。如果在工件中存在裂纹缺陷,则在缺陷的两端除普通的反射波外,在缺陷的上下端点,还将分别产生衍射波,其衍射能量耒源于缺陷端部。这两束衍射波号在直通波与底面反射波之间出现。缺陷两端点的信号在时间上将是可分辨的,根据衍射波信号传播的时间差可判定缺陷高度的量值。
TOFD技术的优势:
- 用两个超声波探头,一个发射超声波信号,另一个接收衍射信号、表面横波和底波,因此在A扫显示四个幅值信号,结合软件技术可以实现全功能的多种扫查;
- TOFDA可提供被检区域(如焊缝和热影响区)大范围的覆盖的单线扫查,检测效率高;
- TOFD对各种缺陷都非常敏感,且对缺陷的方向不敏感;
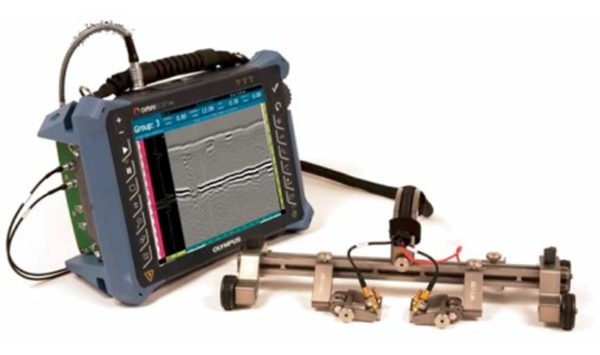
- 可以实现手动扫查,也可以进行半自动的扫查布置;
- 被检材料的厚度范围很宽,一般适用于较厚的工件;
- 也可以适用于腐蚀检测。
TOFD is usually performed using longitudinal waves as the primary detection method. Ultrasonic sensors are placed on each side of the weld. One sensor sends the ultrasonic beam into the material and the other sensor receives reflected and diffracted ultrasound from anomalies and geometric reflectors. TOFD provides a wide area of coverage with a single beam by exploiting ultrasonic beam spread theory inside the wedge and the inspected material. When the beam comes in contact with the tip of a flaw, or crack, diffracted energy is cast in all directions. Measuring the time of flight of the diffracted beams enables accurate and reliable flaw detection and sizing, even if the crack is off-oriented to the intial beam direction. During typical TOFD inspections, A-scans are collected and used to create B-scan (side view) images of the weld. Analysis is done on the acquisition unit or in post-analysis software, positioning cursors to measure the length and through-wall height of flaws.
Main Benefits of TOFD for Weld Inspection:
- Based on diffraction, so relatively indifferent to weld bevel angles and flaw orientation
- Uses time of arrival of signals received from crack tips for accurate defect positioning and sizing
- Precise sizing capability makes it an ideal flaw monitoring method
- Quick to set up and perform an inspection, as a single beam offers a large area of coverage
- Rapid scanning with imaging and full data recording
- Can also be used for corrosion inspections
- Required equipment is more economical than phased array, due to conventional nature (single pulser and reciever) and use of conventional probes
- Highly sensitive to all weld flaw types


 鲁公网安备 37020602000203号